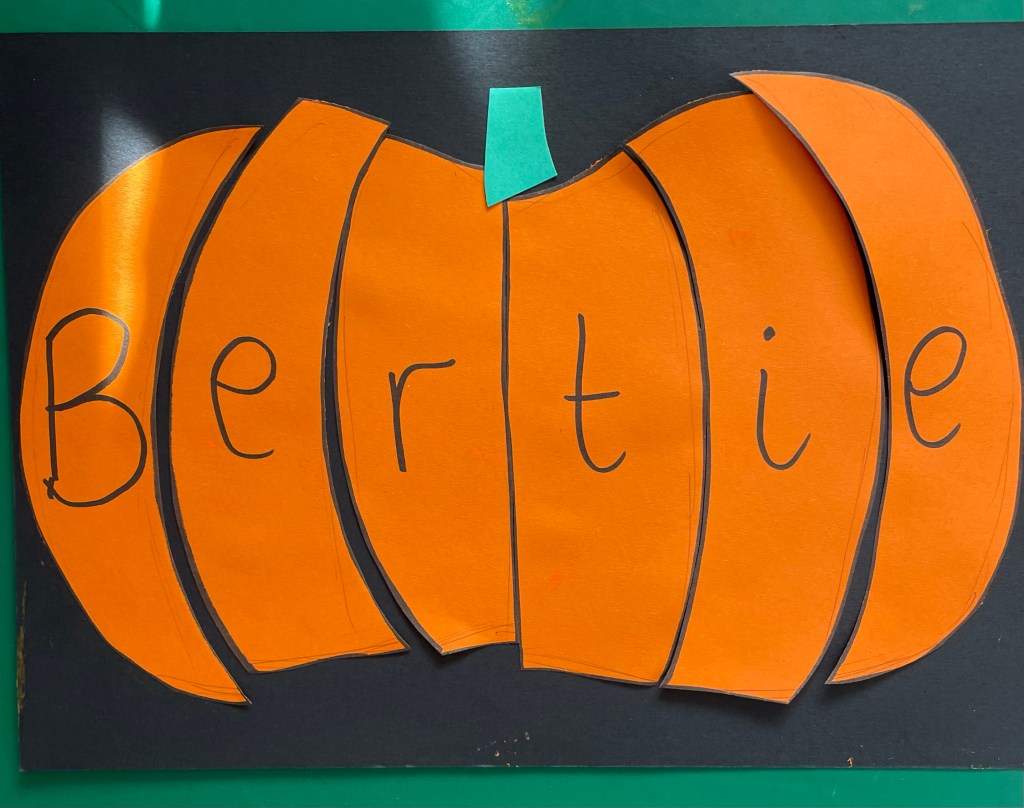
Pumpkin Name Craft
Bertie is really ‘into’ his name at the moment. He loves spotting letters from his name and counting how many ‘b for Bertie’ words are in his books. We’ve always done quite a few name activities, so I figured – why not make a Halloween version?
I did the prep for this pumpkin craft while Bertie was at nursery and left it out for him to discover when he got home to see how he’s engage in it. He spotted it immediately, ransacked through the pieces and selected the B.
“That’s a b for Bertie. There’s other letters too mummy”.
I let him look through a little more.
“That’s an e. That’s in my name too. And this one is. What’s this letter say? Mummy, are all these letters my name? I replied with an encouraging, “what do you think? I wonder what would happen if you put some of them together?”
So, he did. He immediately spelled out his own name (although the t was initially upside down so we took it as another opportunity to explore that letter and find some in some books so he could work out for himself that it was the wrong way round).
I’d only given him the orange and black paper to begin with, but he asked for a “green bit for the top” – check out my 3 year old keeping me right!
If you’d like to make this pumpkin name craft for your little one, then check out the instructions below.
What you’ll need:
- Orange paper
- Black paper
- Green paper
- Thick black pen (I used a sharpie)
- Scissors
- Glue stick
What to do:
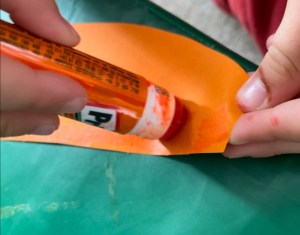
First, take your orange paper and draw the outline of a pumpkin, then write your child’s name in large clear letters, then draw lines between each letter.
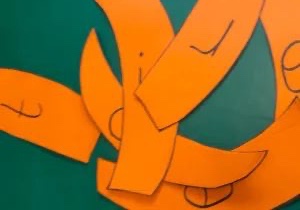
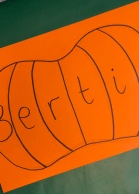
Next, cut out each section of the pumpkin and jumble all the letters up
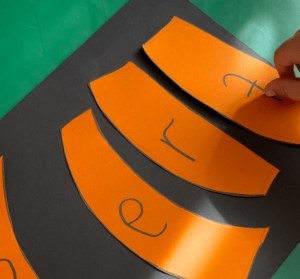
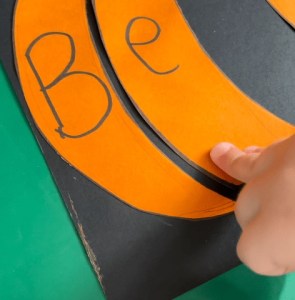
Then, allow your child to explore putting the letters in the correct order before letting them near the glue stick!
Remember, it’s okay if they don’t get it right. It’s a perfect opportunity to talk through the setters and sounds in your child’s name. the beauty with this activity is that the pumpkin shape acts like a jigsaw so you can also use the shapes of the pieces to support them with the correct order.
Once you’ve got your order sorted, it’s time to glue. Take it one by one and don’t forget to make sure they’re close together to keep the final pumpkin shape looking good!
Keep sticking until you’ve stuck every letter down. A small gap is okay, you just need to make sure there’s enough space for it to fit onto your black page. Make sure it’s stuck down well!
Finally, add a green stalk, and there you have it! Your very own name pumpkin.
If you’ve enjoyed this activity. Why not try some of our other Halloween activities here?
Feeling inspired to go pumpkin picking? Check out our favourite pumpkin picking places near Hull!


2 Comments